Manage Preconfigs
Set up agent presets with different tools, models, and behaviors.
Preconfigs define what your agent can do: which tools it has, what model it uses, and how it behaves. They're the core of customizing Jean2.
When you run jean2 init, it creates a few defaults for you (General, Code, Code Planning, Explore). You can view and manage them through the interactive setup command or by editing the configuration files directly.
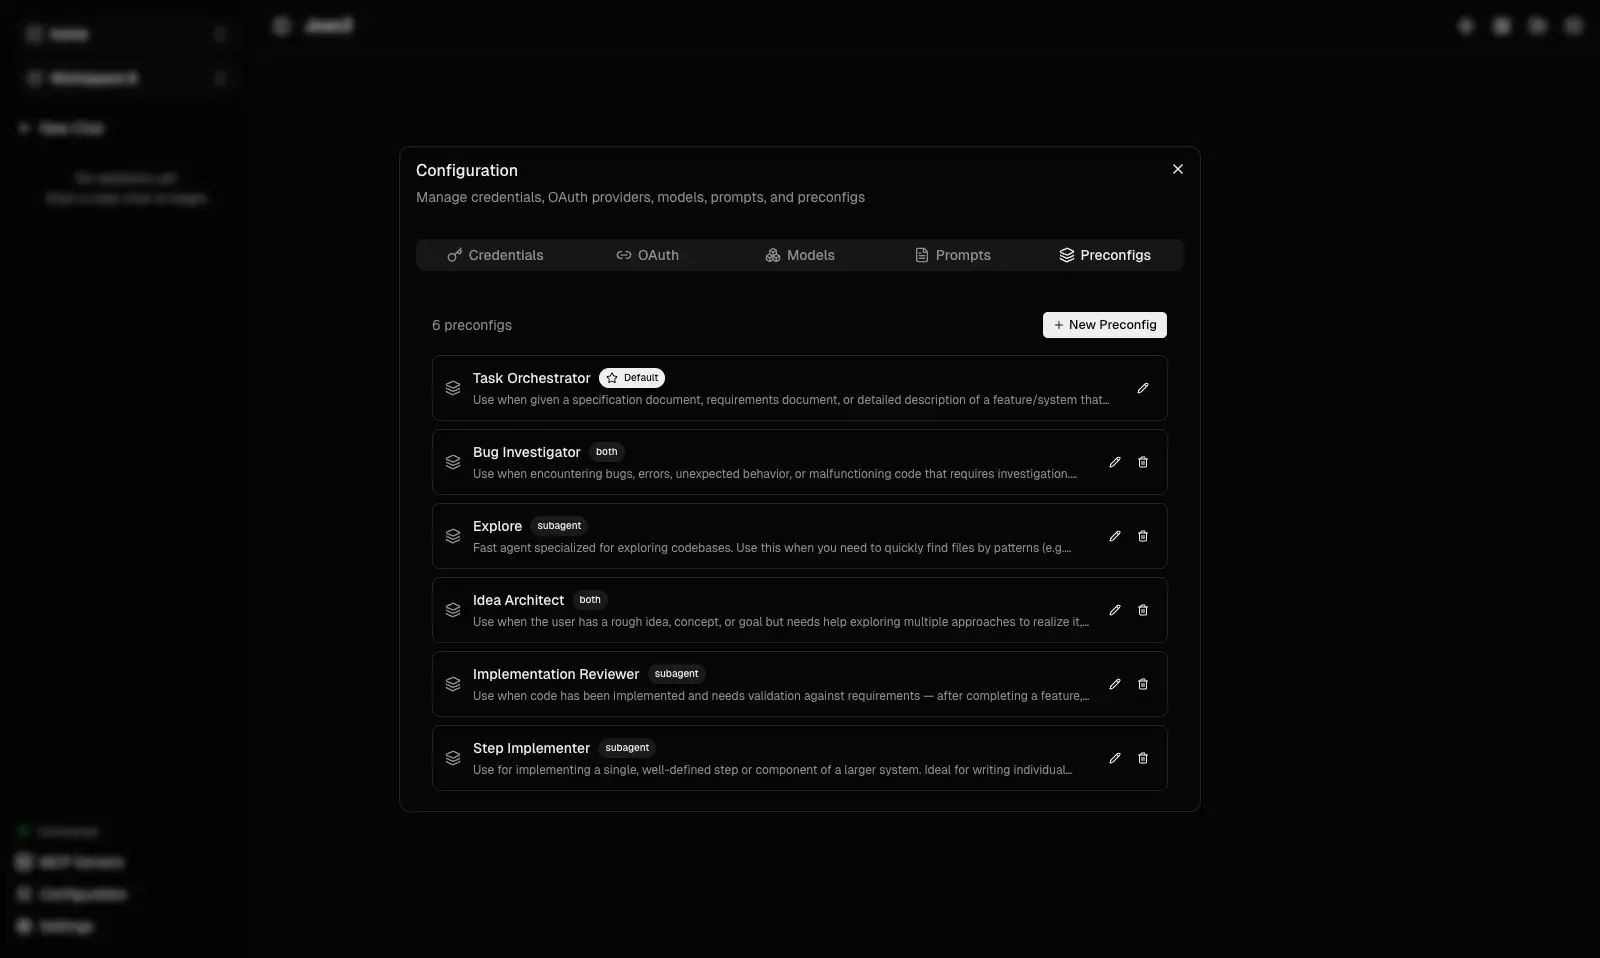
The UI shows your preconfigs as a list — each entry displays the name, description, tools, and model. You can create new ones, duplicate existing ones, or edit them to suit your workflow.
Quick Example
Here's a minimal preconfig file:
---
name: My Agent
description: A custom agent for my workflow
tools:
  - read-file
  - write-file
  - shell
model: gpt-4o
provider: openai
---

You are a specialized assistant for my project.
Always read files before modifying them.
The frontmatter defines the agent's capabilities (tools, model), while the content below becomes the system prompt that guides its behavior.
Key Point
Jean2 doesn't prepend any hidden system message — the system prompt is entirely yours. This gives you full control over how your agent thinks and acts. Whatever you write in the file is exactly what the agent receives.
No Restart Needed
Changes made through the UI take effect as soon as you close the settings window. If you edit preconfig files directly, Jean2 picks them up on the next session creation.
You're Ready
Your Jean2 setup is complete. From here you can:
- Dive into the Deep Dive section to understand how everything works under the hood
- Check out How-to guides for writing tools, remote access, and TLS
Go deeper: Read Preconfigs for the full schema, modes, default preconfigs, and all configuration options.