Add Your First Server
Connect the client to your Jean2 server.
You've got the server running (thanks to the Getting Started guide). Now it's time to connect a client.
Connect to Your Server
Open the Jean2 client and add a new server connection. You'll see a form where you enter:
- Server name — a nickname for yourself, like "Home" or "Work". It's just a label — it doesn't change anything on the server.
- Server URL — by default this is
http://localhost:8742 - API Token — run
jean2 auth showin your terminal to get the current token
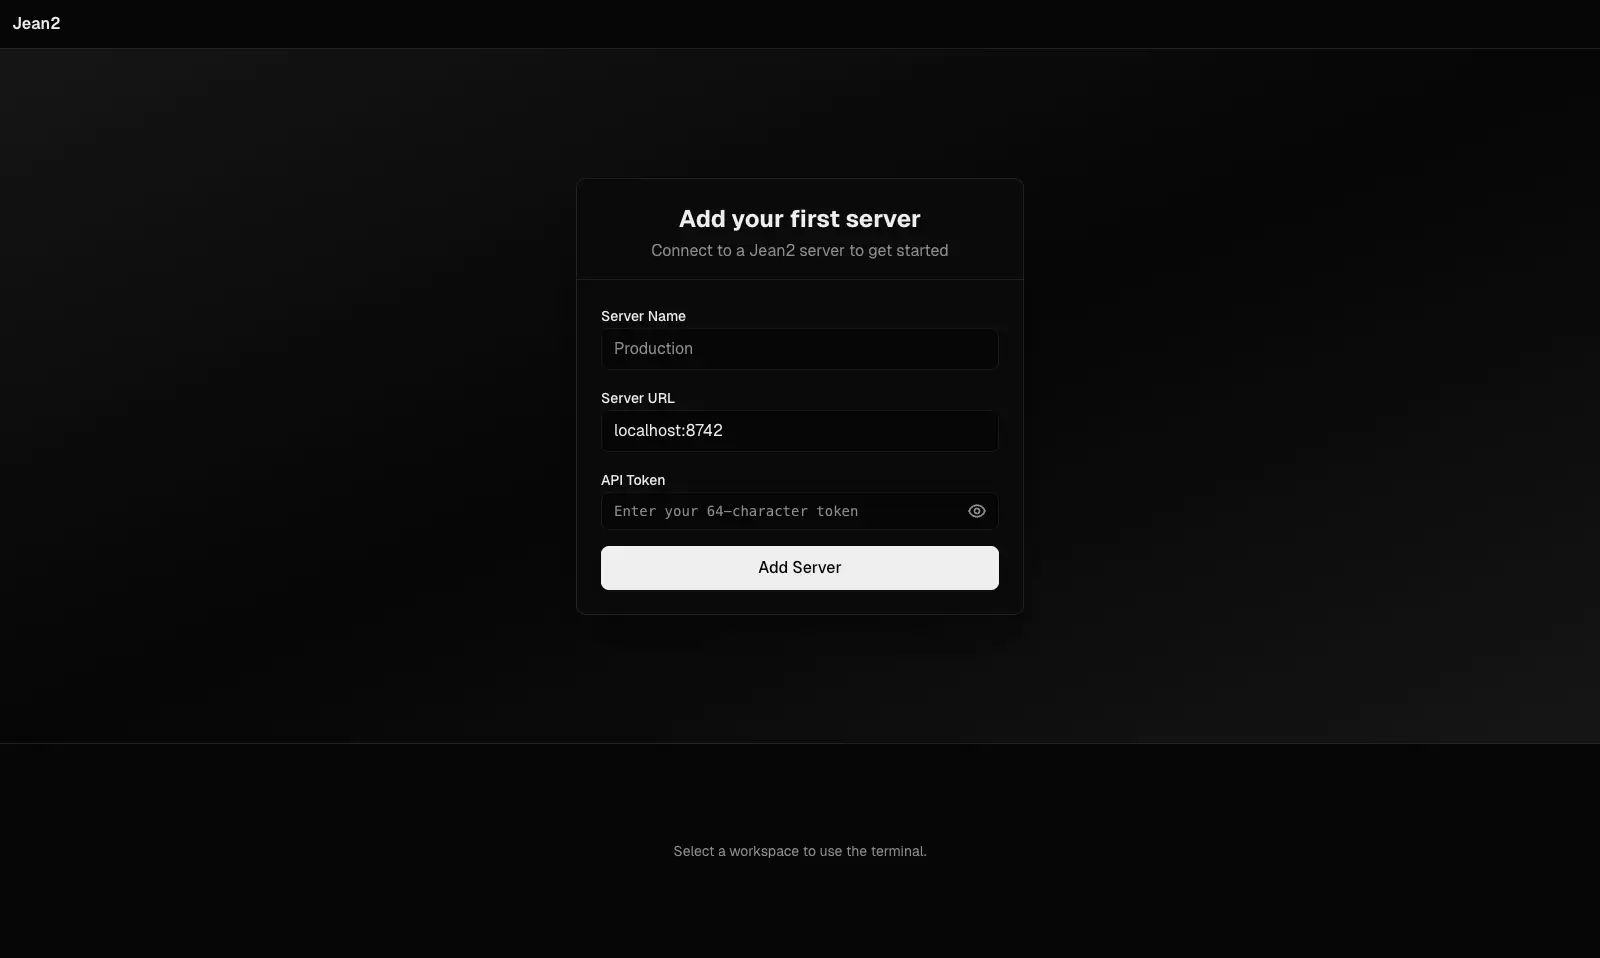
Once you click "Connect," the client will verify the connection and save your server settings.
What You'll See First
After connecting, you'll land in the main interface. If this is a fresh setup with no LLM provider configured yet, you'll see a prompt to add API keys before you can start chatting with your agent.
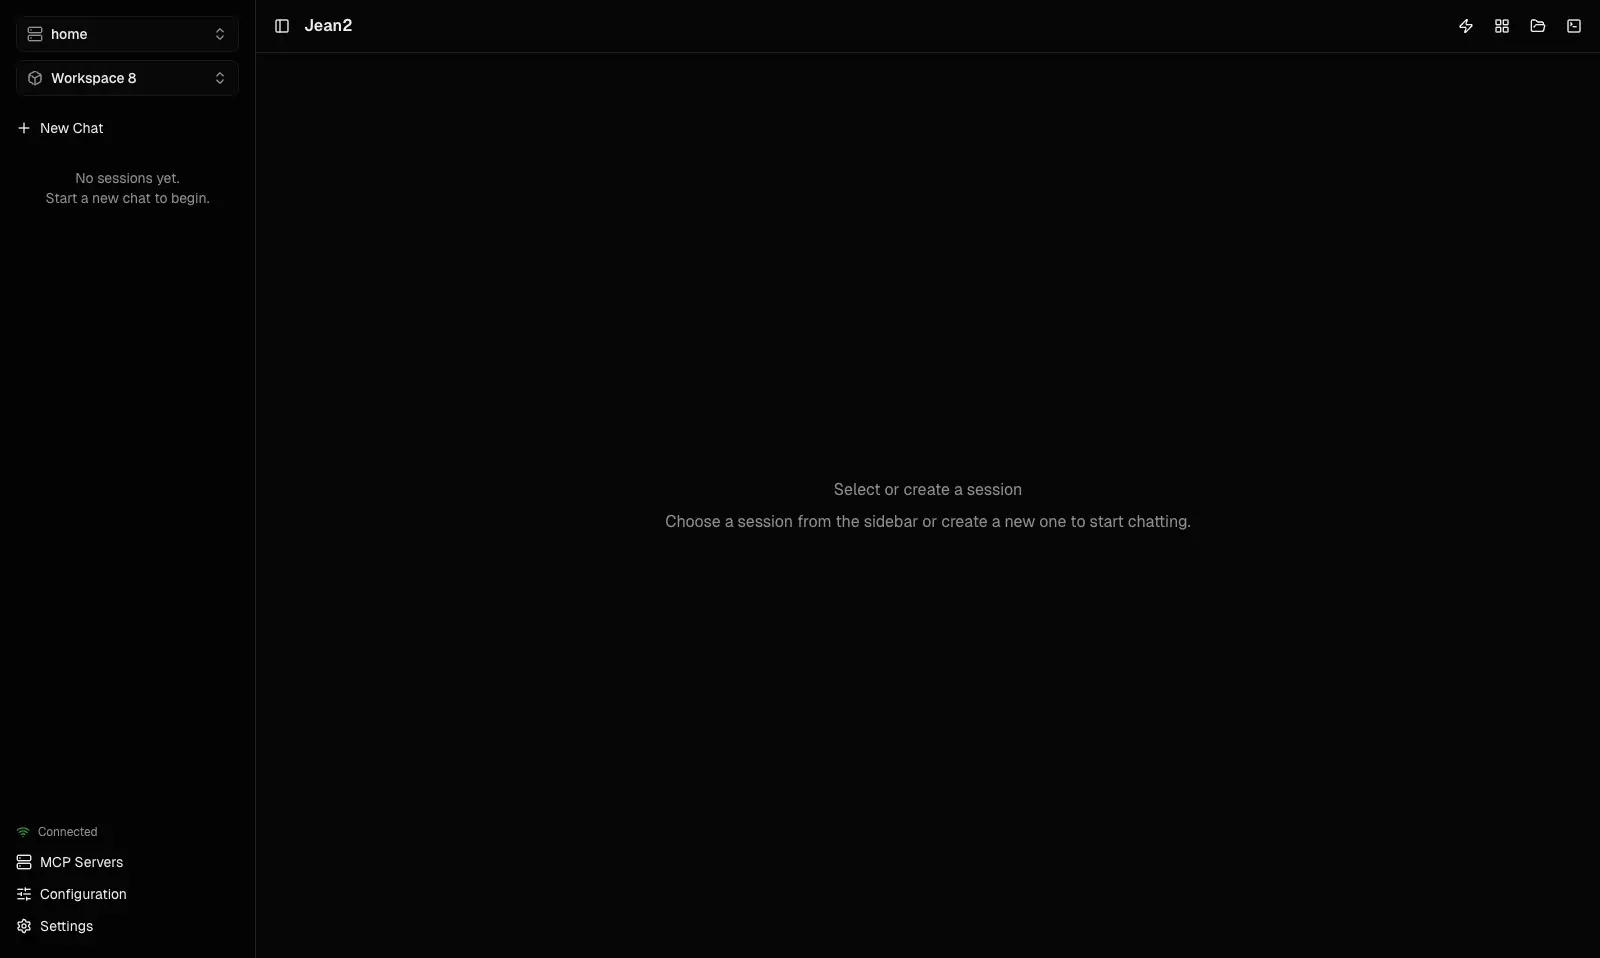
Don't worry — that's exactly what we'll do next.
Next Step
To actually use the agent, you need to connect an LLM provider. Let's do that now.
Go deeper: Already connected? Jump to Configure API Keys to set up your LLM provider.